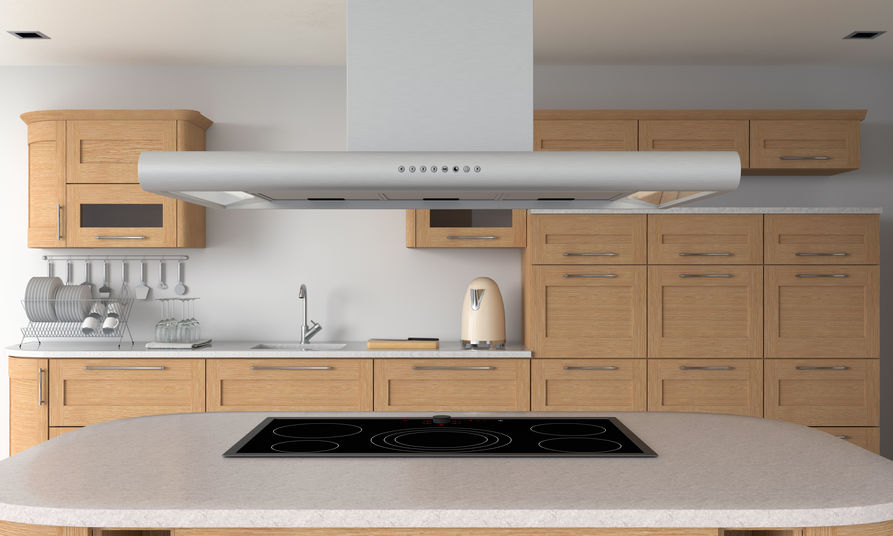
 A range hood does an amazing job at absorbing heat, odors, and grease that linger in the kitchen due to cooking. Through this process, a range hood is able to rid your kitchen and home of pollutants and impurities. Although a range hood does a great job, this does not mean that it has to look boring and dull. You can make your range hood look at its best by painting it. This provides an excellent and cost effective way to update the look of your kitchen. When you make the decision to paint your range hood, you will have a wide array of options to choose from. This article gives a deep analysis of these different options and the best way to go about painting your range hood.
How To Paint a Range Hood Step-by-Step
Step 1 – Cleaning
The first thing you need to do before painting your range hood is to clean it. Removing dirt, debris, and grease before painting will make everything very easy for you. To clean the hood, mix soap with water and use a sponge to clean the hood, as it has a better texture than a piece of cloth. Swipe the sponge with soapy water over the hood for a few times until all the dirt comes off. When done, use a damp piece of cloth to wipe away excess water. When cleaning, make sure that you can easily reach the hood, as this will help prevent any pulled tendons or muscles. You should also not put so much pressure on the metal to avoid scarring it.
Step 2 – Sanding
When the range hood is dry after the cleaning process, it is now time to sand it. Before you start sanding, it is important to cover all walls, ceilings, cabinets, and countertops around the hood. This helps prevent them from becoming messy due to the sanding process. To help protect these elements of your kitchen, get a painter’s plastic sheet and place it on these fixtures. You can also use a painter’s tape on buttons, decals, and knobs to protect the parts of the hood that do not need painting or sanding. To do the sanding, get a sandpaper and use it to get rid of rust spots and chipped paint. Doing this helps prevent further oxidation. During the sanding process, remember not to be too abrasive, as you could cause scratches on the metal. When done, use a piece of cloth or sponge to wipe the surface.
Step 3 – Painting
First, get a painter’s tape and use it to cover all outside edges. After doing this, pour the primer into the paint spray. Get a paintbrush and use it to paint over the hood. When done with this step, get a roller and use it to finish off the painting process. To help remove excess paint bubbles, ensure you implement even and light rolls on the painted surface. Afterward, apply two layers of metal primer and allow it a few minutes to dry. As the drying process takes place, get out your favorite metal paint and fill it in the tray. Just as you did, use a paintbrush to paint the trim and the roller to apply two coats of paint.
Step 4 – Sealing
Get a clean roller and use it to apply two different layers of sealant on the hood after the paint has dried. This process is important because a sealant plays a huge role in preventing rusting, water damage, and chipping.
Step 5 – Drying
When done with the whole process, wait for the sealant and paint to dry up. This should take about 24 hours and after that, you can continue using the range hood part of your kitchen normally. This is an important part of the painting process because exposing your hood before the paint is dry can be a major setback and you might have to do everything all over again.
If you were wondering whether you can paint a range hood, then this article has shown you that this is possible. By following the aforementioned steps and tips, you should be able to paint your range hood with ease. However, if you feel like this is a lot of work for you, then you had better call in range hood experts to do the work for you. They have years of experience in dealing with range hoods and will therefore ensure they do a good job while still ensuring maximum safety and that nothing is damaged during the process.